As a car enthusiast, there's nothing quite like the feeling of cruising down the road, but equally important is the ability to stop safely when needed. Your car's brakes, a true unsung hero of the automotive world, are essential for your safety and those around you. However, the wear and tear on brake pads and rotors is inevitable, and replacing them might sound like a daunting task. But don't worry, even for a second! In this guide, we'll explore how to replace brake pads and rotors like a pro, empowering you to take control of your car's safety and your wallet.
OneThing Before We Start
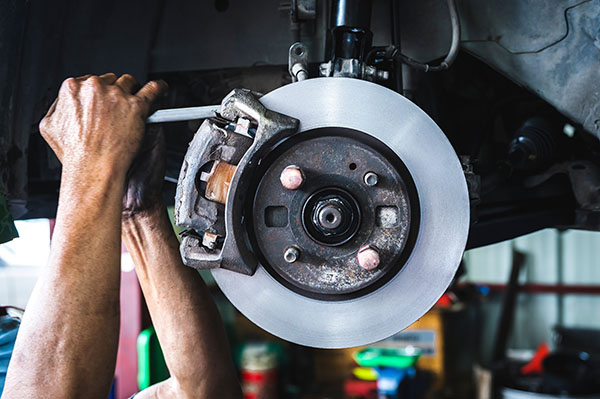
It's essential to have a basic understanding of how these components work. Brake pads are the friction material that clamps onto the rotor, creating the necessary friction to slow down and stop your vehicle. Rotors, on the other hand, are the smooth, shiny discs that the brake pads press against. Over time, both these components wear down and require replacement to maintain optimal braking performance.
Gathering the Right Tools and Parts
To embark on this journey, you'll need the right tools and replacement parts. Here's a list of what you'll require:
- New brake pads and rotors
- A jack and jack stands
- Lug wrench
- C-clamp or brake caliper tool
- Socket set and ratchet
- Torque wrench
- Brake fluid
- Turkey baster or brake bleeder kit
- Brake cleaner spray
- Gloves and safety glasses
Safety First
Before getting your hands dirty, prioritize safety. Find a level, well-ventilated workspace and ensure your vehicle is securely supported on jack stands. Wearing appropriate safety gear is vital. Remember, working with brakes involves handling potentially hazardous materials, so be cautious.
Step-by-Step Guide
Prepare Your Vehicle
Park on a level surface, and engage the parking brake. Loosen the lug nuts, but don't remove them just yet.
Lift and Secure
Use the jack to lift your car, and place the jack stands under it for added safety. Now, remove the lug nuts and the wheel.
Remove the Caliper
Locate the caliper bolts and remove them using the socket set. Slide the caliper off and support it to avoid straining the brake line.
Replace Brake Pads
Extract the old brake pads, and use a C-clamp or brake caliper tool to compress the caliper piston. Install the new brake pads in the same position as the old ones.
Replace Rotors
Remove the old rotor by unbolting it. Clean the hub surface, and install the new rotor. Ensure it's snug and secure.
Reassemble the Caliper
Slide the caliper back into position, and secure it with the bolts. Torque them to the manufacturer's specifications.
Bleed the Brakes
If you've disconnected the brake line, bleed the brakes to remove air. Use a turkey baster or a brake bleeder kit.
Clean and Reinstall
Clean the brake components with brake cleaner spray. Reinstall the wheel, tighten the lug nuts, and lower the car.
Test and Bed the Brakes
Before hitting the road, pump the brake pedal a few times to ensure it's firm. Take your car for a test drive, and gently brake a few times to bed in the new pads and rotors.
Having issues with the DIY project? Contact us at Super Service of Aliso Viejo, and our team of pros will solve the problem in no time!
